
Adjust the frame in premiere pro
What’s the difference between setting to Frame size and scaling to Frame size?
If you’re unfamiliar with what scale or set-to-frame size is it’s just a quick way for premiere pro to automatically fit your footage whether it be big or small to the dimensions of the sequence that you’re working let me show you what I mean follow this method to control the size of footage.
Adjust the frame in premiere pro
Table of Contents
Adjust frame in premiere pro-Steps-Steps by:-
Part 1-How to Crop a Video in Premiere Pro
Follow these steps to crop the video:
Step 1- Open the Adobe Premiere pro.
Step 2- Drag the video you want to crop and add to Timeline.
Step 3- Open the effects control panel under the effects workspace.
Step 4- Find the Effects menu and search for “Crop”.
Adjust the frame in premiere pro
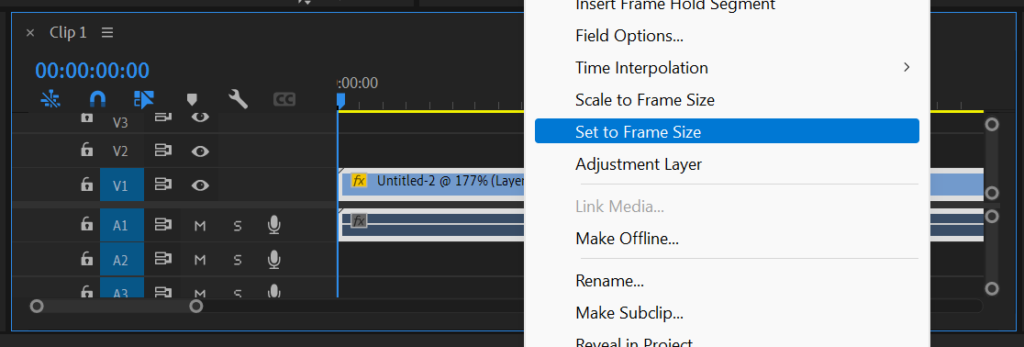
I have a video here that doesn’t quite fit in the frame the easiest way to fix this is to stretch out your video you can do this by right-clicking on the video clip and selecting set the Frame size or scale the frame size.
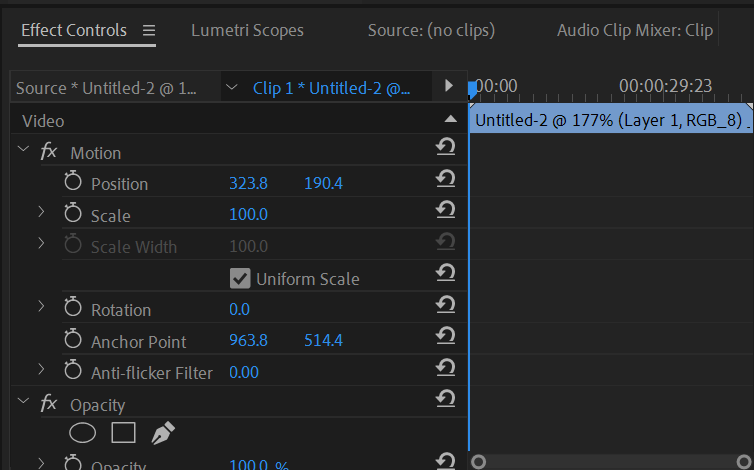
you can also adjust the scale manually by selecting your video clip and going up to effects control then selecting motion so that you can see handles around your video now just one of the corner ones to stretch out your video okay if you want to change the frame size of your whole sequence rather than stretching out your video to do this make sure your video clip is selected on the timeline.
Adjust frame in premiere pro
Then after that go to sequence. And do this method given below:-
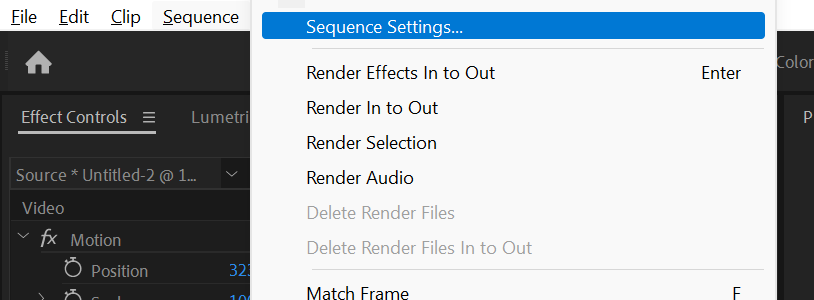
If you want to change the whole frame size of your whole sequence rather than stretching out your video to do this make sure your video clip is selected on the timeline and go up to sequence select ‘sequence setting’ now change your frame size to the original resolution of the video convert into 720 if your is 1280. Then hit ‘ok’. Okay now, your video fits properly in the frame without stretching it out.
Adjust frame in premiere pro
Read also:-How to Resize an Image in Adobe Photoshop
Part 2-How to Resize a Video in Premiere Pro
If you want to Resize your video then follow these steps:-
- Set Frame size
2. Scale to Frame size
Step1. Set Frame size
If you do this option scale to frame size maybe it’s better if you know for sure you’re gonna be using that clip may be that uses a better scaling technique. The effect section is absolutely fine and creates beautiful-looking footage so I now have this footage here. You can pan it you can rescale it you can move position.
Adjust frame in premiere pro
All of the files that were higher resolution are now being read as hd files or 1920 x 1080.
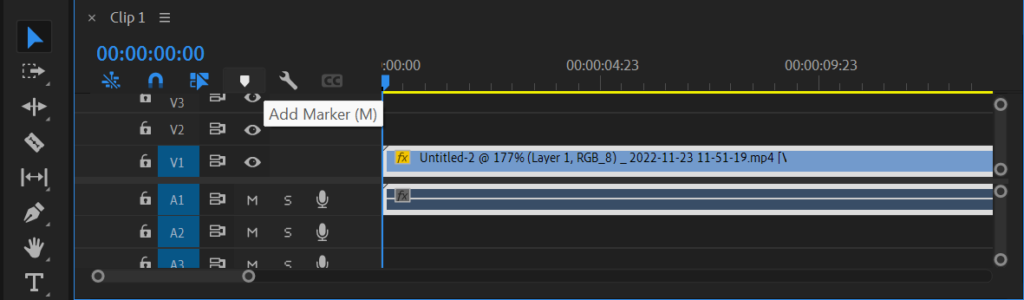
- Add the video from your folder then add the video to the timeline.
- Right-click the clip on the video then this dialog box appears select “Set to Frame Size.”
Adjust frame in premiere pro
Step 2. Scale to Frame size
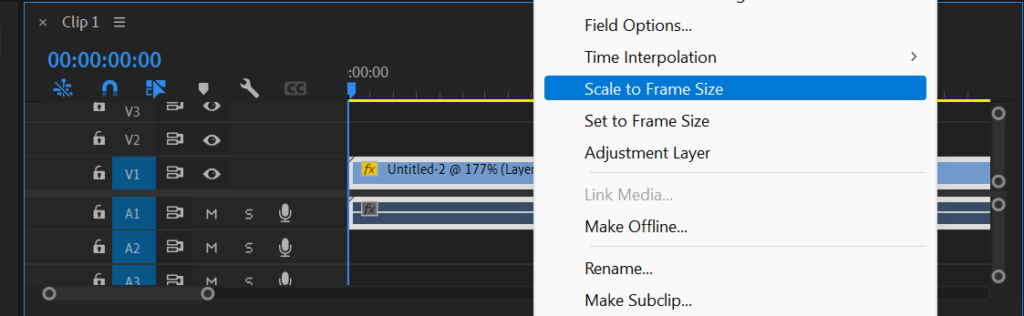
Now you have to do is to right-click on your clip here that’s the equivalent of scale to frame size. If you do scale to frame size it’s rescaling the video but not changing the scale in your effects so your scale remains at 100% which seems sort of a bit sort of odd to me. I thought have thought the rescale one would be the one that doesn’t, If you do a rescale on this if I set the scale to frame size that’s great.
Read also:-How to Add Subtitles in Adobe Premiere Pro(Tutorial)
Adjust frame in premiere pro
Adjusting Frame Size in Adobe Premiere Pro: Tips and Tricks:-
Presently merely know how to alter the outline measure of your video clip in Debut Master let’s take a see at some tips and traps that will assist you to fine-tune your recordings encourage:
- Be Mindful of Aspect Ratios
Angle proportion is the proportion of an image’s width to its stature, and it can enormously affect how your video looks. For illustration, a 16:9 angle proportion is perfect for most cutting-edge gadgets, whereas a 4:3 viewpoint proportion is superior suited for more seasoned shows. Be sure to choose the right aspect ratio for your video before adjusting its frame size.
- Use the “Scale” and “Position” Controls
Debut Professional offers two controls that permit you to alter your video clip’s outline measure: “Scale” and “Position.” The “Scale” control changes the measure of your video clip, whereas the “Position” control changes its position inside the outline.
These controls are especially valuable once you got to alter the outline estimate of a video clip to fit a particular viewpoint proportion.
- Preview Your Adjustments
Sometime recently sending out your video, it’s critical to see your alterations to guarantee they see the way you need them to. Use Premiere Pro’s playback controls to preview your video and make any necessary adjustments.
- Consider Using Templates
In case you’re working on a venture with a particular angle proportion, consider employing a Debut Master layout that’s planned for that perspective proportion. Templates can save you time and help ensure that your videos look professional.
- Learn Keyboard Shortcuts
Premiere Pro offers a range of keyboard shortcuts that can help you work more efficiently. Learning these easy routes can spare you time and make the altering preparation much smoother. A few valuable console alternate routes for altering outline measure incorporate “Ctrl + Alt + F” to fit a clip to the outline estimate, and “Ctrl + Alt + K” to alter the outline measure of a clip.
In conclusion, adjusting frame size in Adobe Premiere Pro is a crucial skill for any video editor. With the tips and traps sketched out in this comprehensive direct, you ought to presently be able to alter your video clip’s outline measure with ease. Be mindful of aspect ratios, use the “Scale” and “Position” controls to fine-tune your adjustments, preview your work before exporting, consider using templates, and learn keyboard shortcuts to work more efficiently. With these tips and traps, you will be well on your way to making staggering recordings that see your best.
Adjust frame in premiere pro
FAQs:-
Q. Can I adjust the frame size of multiple video clips at once in Premiere Pro?
A. Yes, you can adjust the frame size of multiple video clips at once in Premiere Pro. Essentially select all the clips you need to alter, right-click, and select “Scale to Outline Estimate.”
Q. How do I change the aspect ratio in Premiere Pro?
A. To alter the perspective proportion of your video clip in Debut Professional, select the clip, and after that go to the “Impacts Controls” board. Beneath the “Movement” tab, you’ll see a choice for “Scale.” You’ll alter the scale of your clip to alter its viewpoint proportion.
Q. Can I adjust the frame size of a video after it’s been edited in Premiere Pro?
A. Yes, you’ll be able to alter the outline measure of a video clip in Debut Master indeed after it’s been altered. Simply select the clip and follow the steps outlined above to adjust its frame size.
Conclusion:-
Adjusting frame size in Adobe Premiere Pro is an essential skill for any video editor. Understanding frame size and aspect ratios is crucial to getting your videos to look their best. With the step-by-step information in this comprehensive direct, you ought to presently be able to alter outline measures in Debut Professional with ease.
Remember to be mindful of aspect ratios when adjusting frame size and use the “Scale” and “Position” controls to customize your video clip’s frame size further. With these tips and traps, you will be able to form shocking recordings in no time.


