

Premiere Pro is designed for a video editor’s post-production workflow. It’s equipped with a suite of powerful editing tools for content creators and filmmakers to organize and edit video files as well as to enhance and fine-tune audio and image quality.
Adobe Premiere Pro is a timeline-based and non-linear video editing software application developed by Adobe Inc. and published as part of the Adobe Creative Cloud licensing program.
Premiere Pro is fairly easy to learn and makes for excellent professional editing software or a great learning tool for new editors. The interface is simple to navigate and one can organize windows to their preferences.
Add Music in Premiere pro
Headings
- Import your video files into Premiere Pro.
- Import your audio files into Premiere Pro.
- Use of razor tool.
- Enlarge your audio
- Change the volume.
- Import your video with audio.
Table of Contents
To add Music in Premiere pro follow these steps:-
1. Import your video files into Premiere Pro.
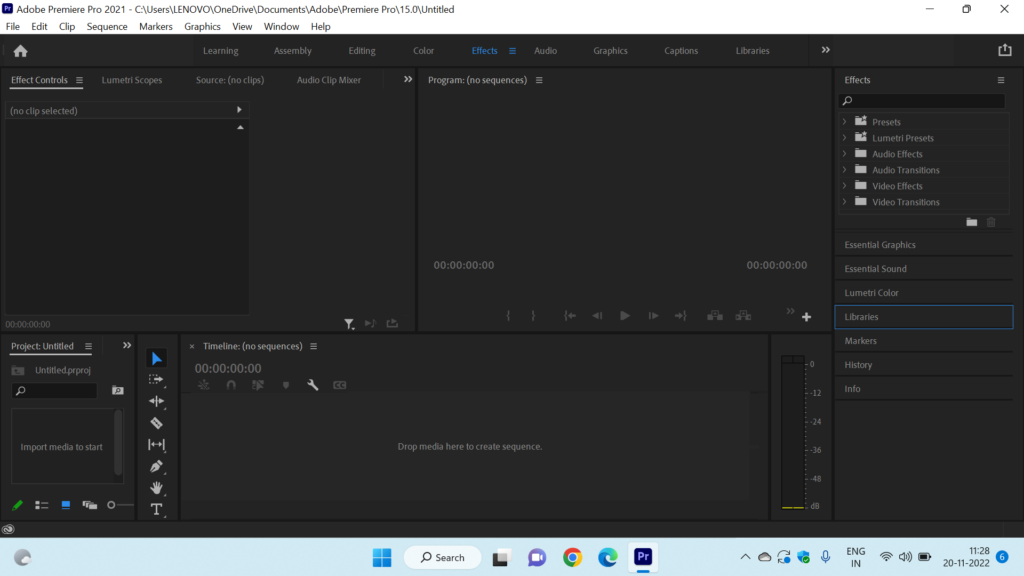
To import media files using the Media Browser panel, browse to the files you’d like to import, select the clips you want to work with in Premiere Pro, right-click one of the selected clips, and choose Import. Once the media is imported, you’re ready to edit.
Too much media cache may render you to fail to import MP4 files to Premiere Pro. Go to Edit > Preferences > Media Cache, and click Delete Unused to clean those unused media cache files. Then get back to testing whether you can load the MP4 to Premiere Pro or not.
Read Also: Add Music in Premiere pro
2. Import your audio files into Premiere Pro.
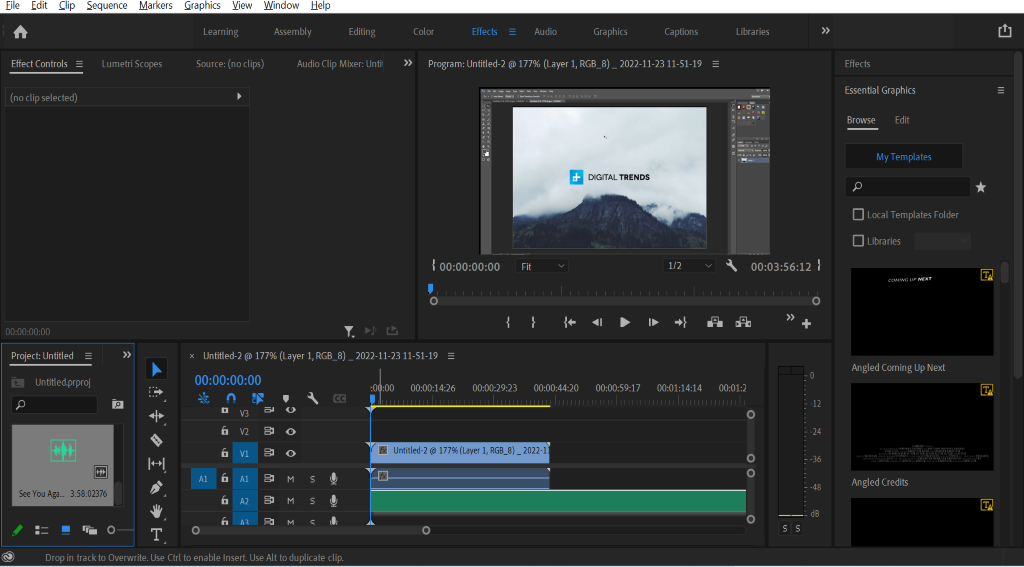
First, you just added your video clip to the timeline. After that go to the project panel and double-click inside to open the import pop-up in here find the music you’re looking for and click open. After that drag your audio clip into the track below your video clip on the timeline.
3. Use of razor tool.
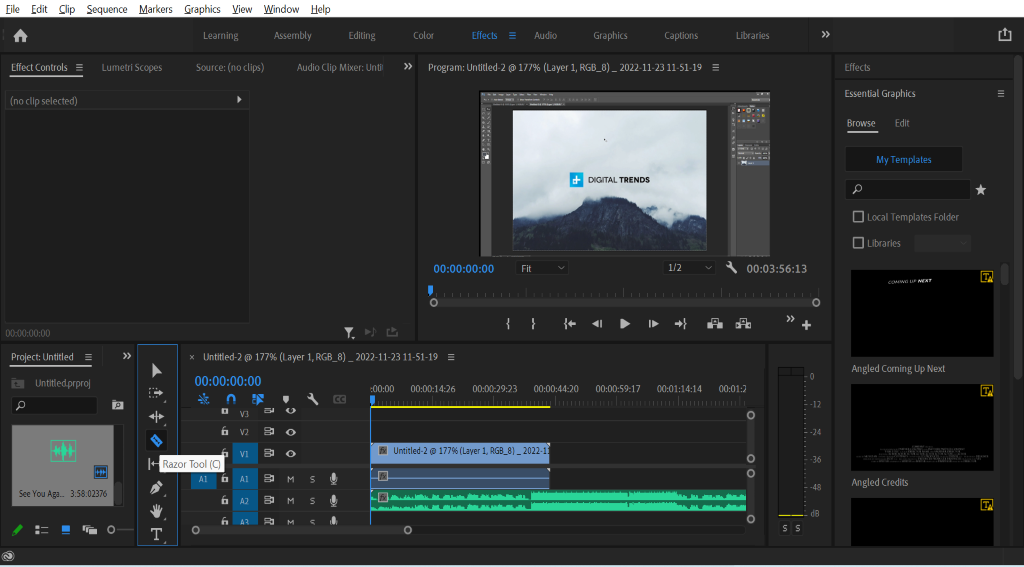
Adding the audio clip after that you have to do is to use the razor tool to cut off the end of the audio clip so that your music ends with your video clip. The Razor tool is also a huge help when working with extensive timelines with multiple tracks because you can select the clip you want to cut by placing your razor over it. So, if you need to make a bunch of cuts in a row, the Razor is the tool for the job.
The Razor tools allow you to cut shots into separate parts so you can remove sections or rearrange items on the timeline. Activate Razor and Razor All by clicking the tool or pressing R.
Add Music in Premiere pro
4. Enlarge your audio.
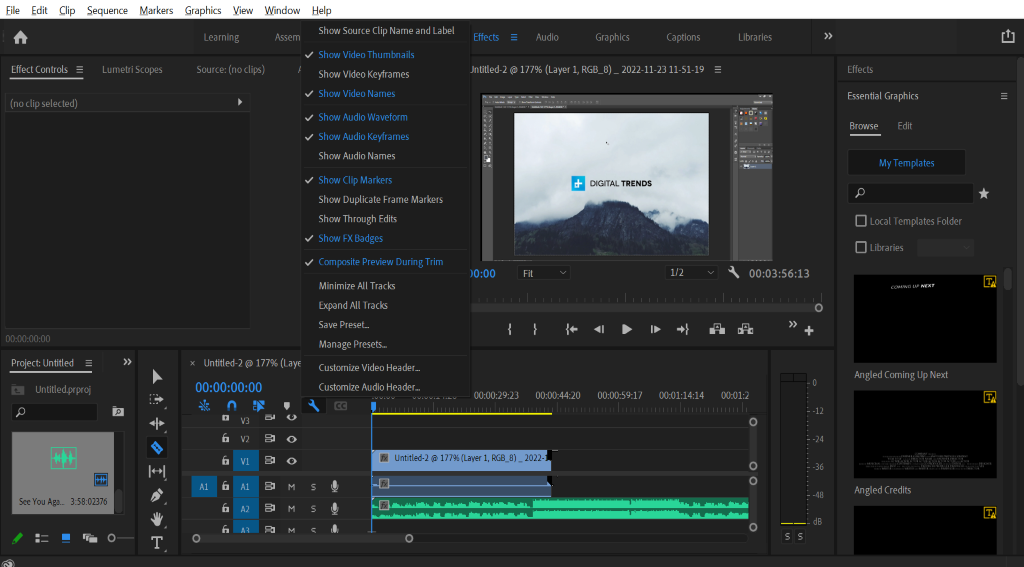
The thing you might want to do to make editing your video easier is to click this little wrench up here and select ‘Expand all tracks’. which will enlarge your audio now if you want to fade your music go to the effects panel then double click on the audio transition to open it up and open up crossfade to fade your music in drag the exponential fade to the very beginning of your audio clip. And to fade it out just drag the exponential fade to the very end of your audio clip.
Read Also: How to Add Subtitles in Adobe Premiere Pro(Tutorial)
5. Change the volume.
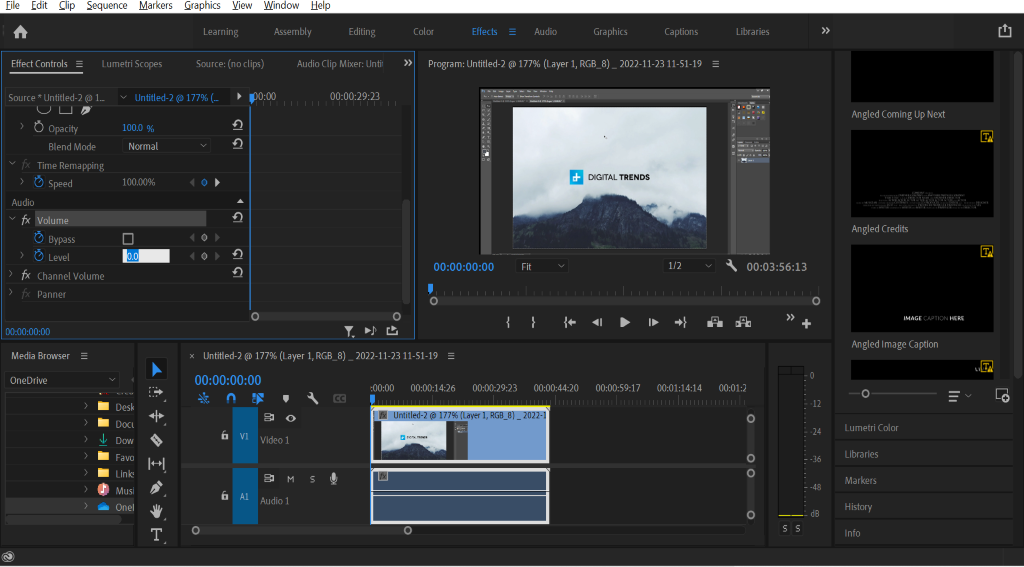
You can also change the volume by selecting your audio clip and going over to an effect controls under volume drag the value of the level to the left or right to change the volume.
Add Music in Premiere pro
6. Import your video with audio.
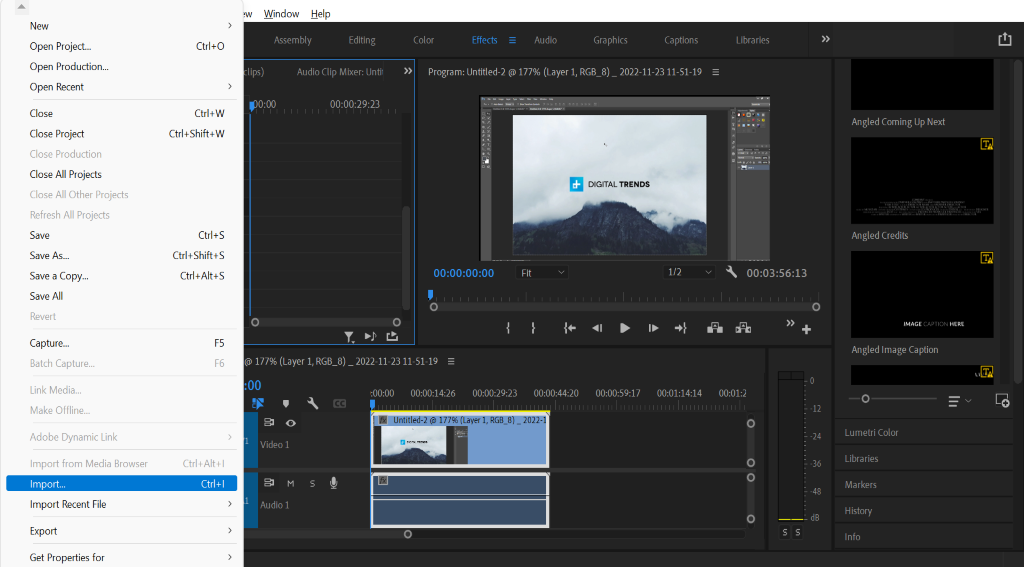
To import media files using the Media Browser panel, browse to the files you’d like to import, select the clips you want to work with in Premiere Pro, right-click one of the selected clips, and choose Import. Once the media is imported, you’re ready to edit.
Best Practices for Adding Music to Your Video:
- Choose music that fits your video: The music you choose should complement your video and enhance its overall message. For example, if you are creating a video about a relaxing beach vacation, you might choose soft, calming music.
- Consider the cadence and cadence: The cadence and beat of the music can impact the disposition of your video. A fast-paced, energetic tune can make a sense of fervor, whereas a moderate, melancholic melody can make a sense of pity or sentimentality.
- Alter the volume: The volume of your music ought to be adjusted with the volume of your discourse and sound impacts. In case the music is as well uproarious, it can overwhelm the other sounds in your video and make it troublesome to listen to the exchange.
Add Music in Premiere pro
FAQs:
Q: Can I include different sound records in my video venture in Adobe Debut Professional?
A: Yes, you’ll be able to include different sound records in your video venture by dragging and dropping them into the timeline. You can then adjust their volume levels to ensure they work well together.
Q: Can I use copyrighted music in my video project?
A: If you need to use copyrighted music in your video, you’ll get to get a permit to do so. Using copyrighted music without permission can result in legal consequences.
Q: Can I adjust the length of my audio file in Adobe Premiere Pro?
A: Yes, you’ll be able to alter the length of your sound record by clicking and dragging the edge of the sound clip within the timeline.
Conclusion:
Including music in your video venture in Adobe Debut Professional can take it to another level. By following the steps laid out in this article, you’ll include music in your video venture and improve its by and large quality. Remember to choose music that fits your video, consider the tempo and rhythm, and adjust the volume levels to create a balanced audio mix. With these best hones in intellect, you’ll be able to make locks in and professional-looking recordings that charm your group of onlookers.


