
Resize-an-image-in-photoshop
Photoshop is an image creation, graphic design, and photo editing software developed by Adobe.
Adobe Photoshop is software that is extensively used for raster image editing, graphic design, and digital art. It makes use of layering to allow for depth and flexibility in the design and editing process, as well as provide powerful editing tools, that when combined, are capable of just about anything.
Adobe Photoshop was originally developed in 1987 by Thomas and John Knoll, and then Adobe Systems Inc. had the license to distribute in 1988.
Photoshop is specifically designed to allow users to create and edit raster images in multiple layers. These overlays or layers can support transparency and can also act as masks or filters that can alter underlying images in the layers below them. Shadows and other effects such as alpha compositing can be applied. It is also possible to apply several color models to these layers – CMYK, RGB, Spot Color, Duotone, and Lap color space. Adobe promotes Photoshop as a tool for professionals.
However, beginners can use Photoshop as well with many helpful tutorials on the market that train users in how to use Photoshop’s various features and also use tools.
Read Also: Resize-an-image-in-photoshop
Table of Contents
Resize-an-image-in-photoshop-A Step-by-Step Guide:-
Follow these steps to use Image Size in Photoshop and resize your image as desired:
Step 1: Open Adobe Photoshop
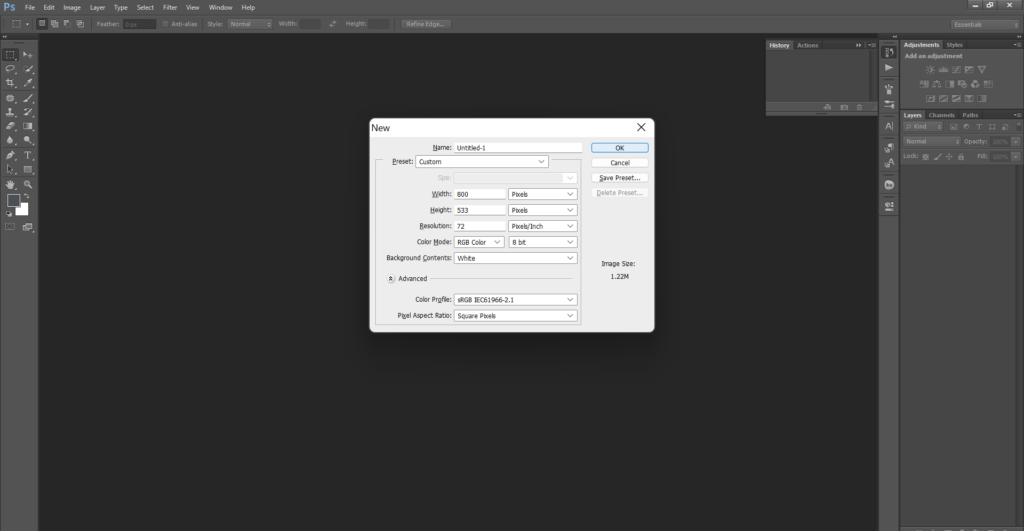
First, open Adobe Photoshop, and you have to select the option “new” and then select the width and height of the document after that select the best resolution for your document. Resolution in this dialog box means the number of image pixels that will be assigned to each inch when the image is printed. It is also possible to apply several color models to these layers – CMYK, RGB, Spot Color, and Duotone and Lap color space. A new document means how much space on a hard drive or disk is needed to save the file. This number is measured in bytes, kilobytes (K), megabytes (M), and gigabytes (G). And then Click the “OK” button to open your document.
Resize-an-image-in-photoshop
Step 2: Open the Image
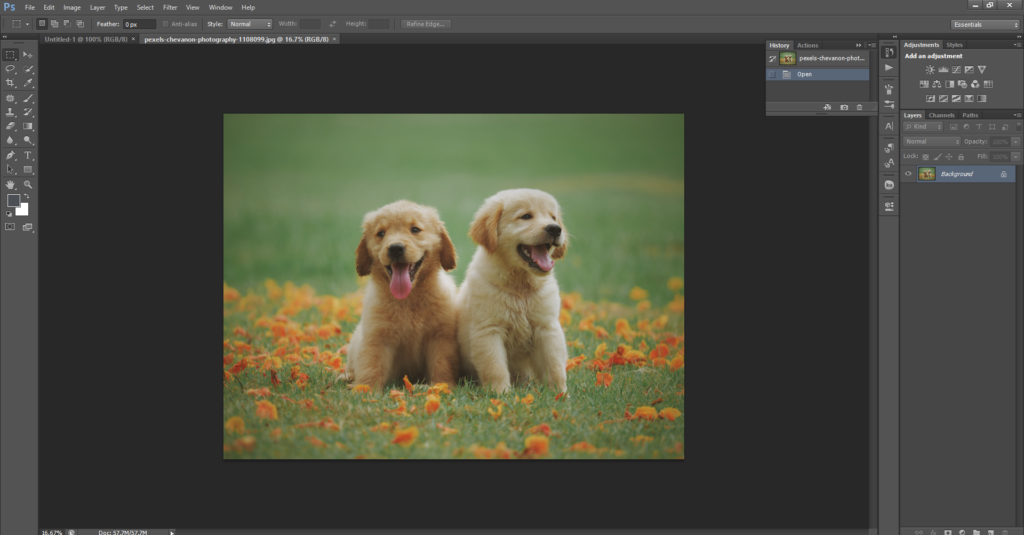
If you want to take a closer look at a picture on a website, right-click the image and select Open in the new tab. You can also drag an image file on your computer into your browser window to open it. Pictures on the web may have copyrights attached to them. To open a Photoshop document or image: Go to File and select Open… A Browse window will appear and you can locate your file, select it, and click Open.
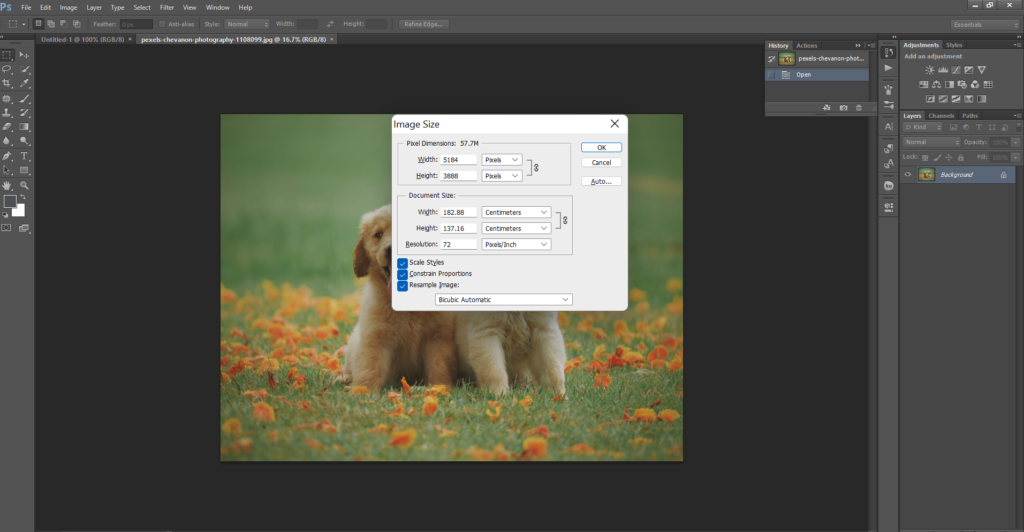
Step 3: Resize an Image
1. Open photoshop.
2. Width/Height: Enter values for Width and Height. To enter values in a different unit of measurement, choose from the menus next to the Width and Height text boxes. The new image file size appears at the top of the Image Size dialog box, with the old file size in parentheses
3. Resolution: To change the Resolution, enter a new value. (Optional) You can also choose a different unit of measurement.
4. Resample: To change the image size or resolution and allow the total number of pixels to adjust proportionately, make sure that Resample is selected, and if necessary, choose an interpolation method from the Resample menu. To change the image size or resolution without changing the total number of pixels in the image, deselect Resample.
5. If your image has layers with styles applied to them, select Scale Styles from the gear icon to scale the effects in the resized image. This option is available only if you selected the Constrain Proportions option.
6. When you finish setting options, click OK.
Read Also: How to Reverse a Clip in Premiere Pro — A Step-by-Step Guide
Step 4: Import the Image
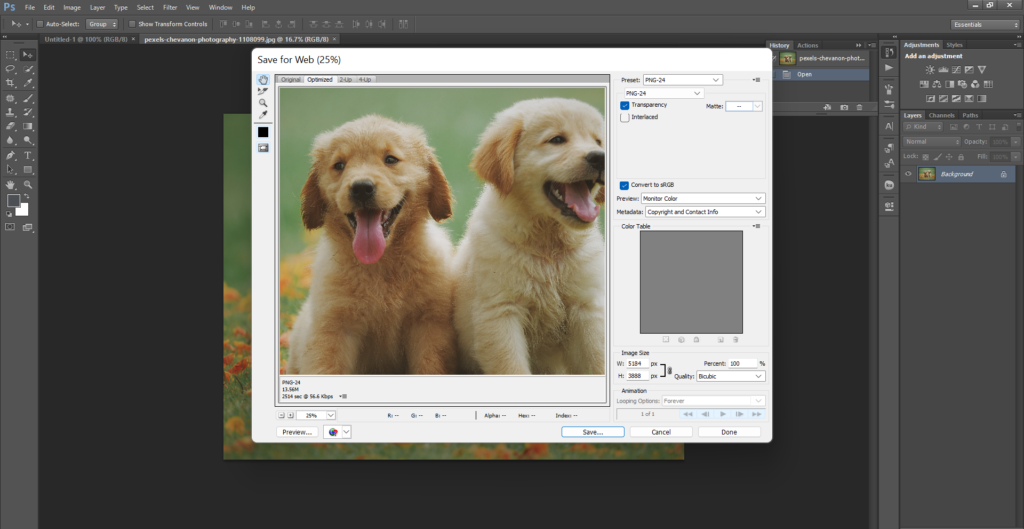
- Go to File > Export > Export Preferences.
- Set your Export preferences, such as format, quality, and destination.
- Now go to File > Export and select Export As… at the top of the menu to export with your saved preferences.
- If using multiple artboards, export your assets in one step by going to File > Export As… and choosing your preferences.
- You can also use a shortcut key to save the image in photoshop ctrl+ shift+ s.
Resize-an-image-in-photoshop
Resizing Images for Different Platforms:
Resizing Pictures for Diverse Stages: Resizing pictures for distinctive stages requires a bit of information almost the suggested picture sizes for each stage. Here are some of the most popular platforms and their recommended image sizes:
- Facebook: 1200 x 630 pixels
- Twitter: 1024 x 512 pixels
- Instagram: 1080 x 1080 pixels (square image) or 1080 x 1350 pixels (portrait image)
- LinkedIn: 1200 x 627 pixels
- Pinterest: 600 x 900 pixels
Resize-an-image-in-photoshop
FAQs:
Q: Can I resize multiple images at once in Adobe Photoshop?
A: Yes, you can resize multiple images at once in Adobe Photoshop by using the Batch Resize feature.
Q: Can I resize an image without losing its aspect ratio?
A: Yes, you’ll resize a picture without losing its perspective proportion by checking the “Compel Extents” box within the Picture Measure exchange box.
Q: What is the best file format to save a resized image?
A: The best file format to save a resized image depends on its intended use. For web utilization, spare the picture as a JPEG or PNG record. For print use, save the image as a TIFF or PSD file.
Conclusion:
Resizing a picture in Adobe Photoshop can be a basic handle in case you take the steps accurately. Understanding image size, using the right techniques and tools, and considering the recommended image sizes for different platforms can help you achieve the desired results. With this direct, you ought to presently be able to resize your pictures productively and viably.
Keep in mind to continuously spare a duplicate of the initial picture sometime recently resizing it, and test with distinctive methods to discover what works best for you.
Resize-an-image-in-photoshop


