

Table of Contents
Ripped paper effect
In this Photoshop blog, you will learn how to make torn paper effects in Photoshop cs6. In this blog, you will learn how to quickly instant torn paper effect. This effect is also called the ripped effect. This torn paper is usually used for making collages or any photo or album. This torn paper effect is also used for making or designing portrait albums in Photoshop.
Today I’m going to show you how to create a series of surreal tone paper collaging effects to give the appearance of an image being ripped away to reveal a different image underneath.
We’ll use this series of freely downloadable photos from pixels.com. When it comes to a torn paper effect it is entirely possible to rip up some paper scan it in and isolate the ripped edge but to save some time I found a great pack of torn paper graphics.
Ripped paper effect follow these steps:-
Step 1:- Open the model photo in Photoshop

Open Photoshop and make a new document in any size you want. I will set mine to 2000 in height and width 2000. Set the resolution to 250 pixels.
Go to file > new or CTRL+N for a new document.
Step 2:- Add an Image in Photoshop
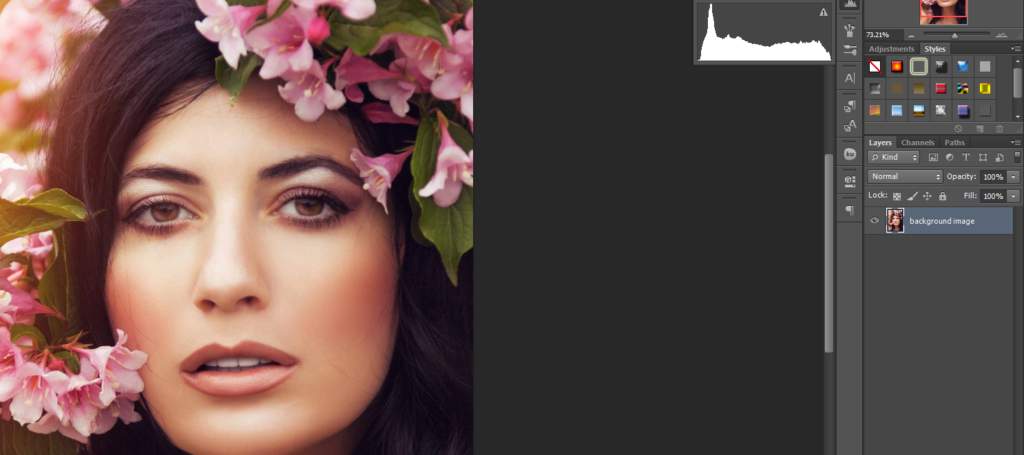
Afterward, Go to File > Open, select the portrait from your folder, and click Ok.
We get rid of and decide portions because we only need the model to go to the crop tool, so you have to crop your image and remove the mostly background.
Ripped paper effect
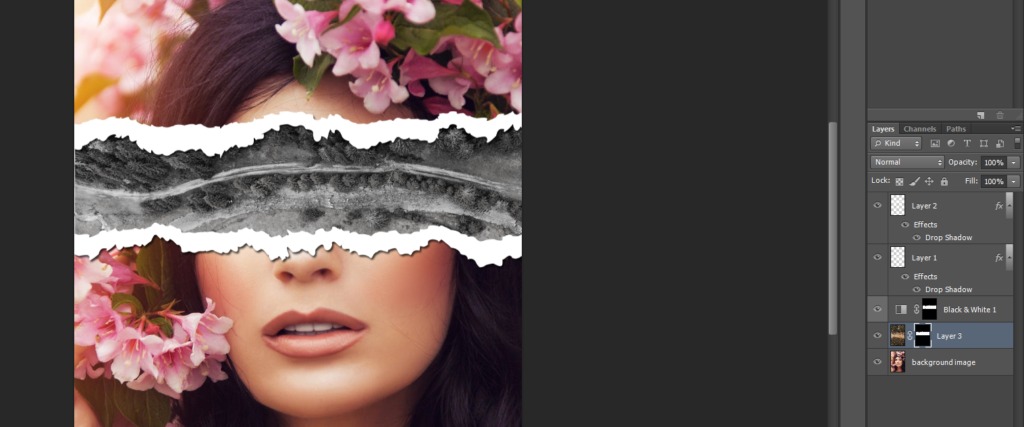
Step 3:-Add torn paper in photoshop

You have to add two toned paper images from the toned paper isolated clip arts and mock-ups pack. Add the torn into photoshop then go to select and all followed by edit and copy. close this first tone paper image then return to the main portrait image and go to edit and paste to place the tone paper image into a new layer.
Click the document containing the other tone paper graphic and copy and paste this one this time incorporate some shortcuts using command or the CTRL k on windows and A for select all commands C for copy command and W for close. And then return to the main portrait image command V for paste.
Step 4:-Adjust the torn paper

Use the command and T or CTRL + T shortcut for transform to begin scaling and repositioning the selected torn paper layer adjust its size with the corner handles and move it around by clicking and dragging anywhere within the bounding box. Allow the edges to extend beyond the edge of the document. Hit enter to apply the transformation.
If you have auto-select enabled for the move tool you can click an object to automatically select the layer otherwise activate the layer in the layers panel to begin working with it use the command or CTRL + t shortcut to scale and position this graphic. You have to rotate this one by hovering near it to find the rotate icon.
Ripped paper effect
Step 5:- Adjustment layer

Click the background layer to activate it then click the add adjustment layer icon at the bottom of the layers panel. Choose black and white. We’ll use the default settings to collapse the properties panel. The adjustment layer automatically has a layer mask applied which allows you to specify which areas of the image the effect is used.
Step 6:- Add Lasso Tool

Choose the polygonal lasso tool from the toolbar under the lasso tool group. Hold the spacebar to pan around to focus on the torn paper begin clicking to roughly trace a line within the torn paper images starting off the canvas and then looping right back to the start. Carefully navigate past the thinner area so it stays within the torn edge. The screen this selection can be filled within the layer mask to tell it not to apply the adjustment layer to this area use the alt and backspace shortcuts to fill the selection with the foreground color. Which is black by default go to select and deselect to remove the selection to see if the adjustment is now affecting all.
The image except for the area within the torn paper edges within the layer masks black conceals and white reveals.
To make sure the mask is still selected use the command and I shortcut for invert to flip it the other way around. now the area within the torn paper edges is white within the mask which means the black-and-white effect is revealed in this area instead. You can also add some shadows to give a realistic look.

Read Also:-How to make fish eye effect in Photoshop
Step 7:- Add Another image
Open up the image, select all with CTRL + A, then copy with CTRL and C. Back in the main document click the background layer the use CTRL + V to paste the image layer above it. Hold the CTRL K on windows and click the adjustment layer’s mask to load its selection instead of drawing it again. Click the layer mask icon at the bottom of the layers panel to apply this selection as a layer mask.
Click the chain icon to unlink the mask from the layer so you can move the image around independently. Make sure you click the layer thumbnail to activate the image portion of the layer, not the mask Press CTRL + T to move the image face into place. you can scale and rotate the image to the appropriate size.
Ripped paper effect
FAQs:
Q: Can I use this effect on any type of image?
A: Yes, you can use this effect on any type of image. However, it may work best on images that have a plain or simple background.
Q: Do I need to have advanced Photoshop skills to create this effect?
A: No, you do not ought to have progressed Photoshop abilities to make this impact.
This directions work out is arranged for juveniles and middle-of-the-road clients.
Q: Can I customize the ripped paper effect?
A: Yes, you can customize the ripped paper effect to fit your specific design needs. You can adjust the size, shape, and texture of the ripped area.
Conclusion:
With some basic steps, you can change your pictures into stunning pieces of craftsmanship. By taking this step-by-step direction on how to create the tore paper impact in Photoshop, you’ll be able to make professional-looking plans that will stand out from the rest. So, go ahead and grant it an attempt! Presently that you’ve learned how to form the tore paper impact in Photoshop, you’ll be able to explore diverse shapes, sizes, and surfaces to form different plans. You can also add text and other design elements to your ripped paper effect to make it more interesting and personalized. Test with distinctive textual styles, colors, and styles to see what works best for your plan. Keep in mind to spare.
Your work as you go along and attempt distinctive varieties to see what looks best.
You’ll moreover share your manifestations on social media or get input from other architects to move forward with your skills. In conclusion, Photoshop could be a capable instrument that can assist you in unleashing your imagination and making shocking designs. By taking this step-by-step course on how to form a torn paper effect in Photoshop, you’ve got learned how to create a one-of-a-kind and eye-catching effect that will make your plans stand out. So go ahead and experiment with different techniques and have fun creating!


